Hey! I'm Sam. I am a design-focused frontend + mobile engineer.
Let's Work TogetherIntro
You seem like a change-the-world type of human. I want to help.
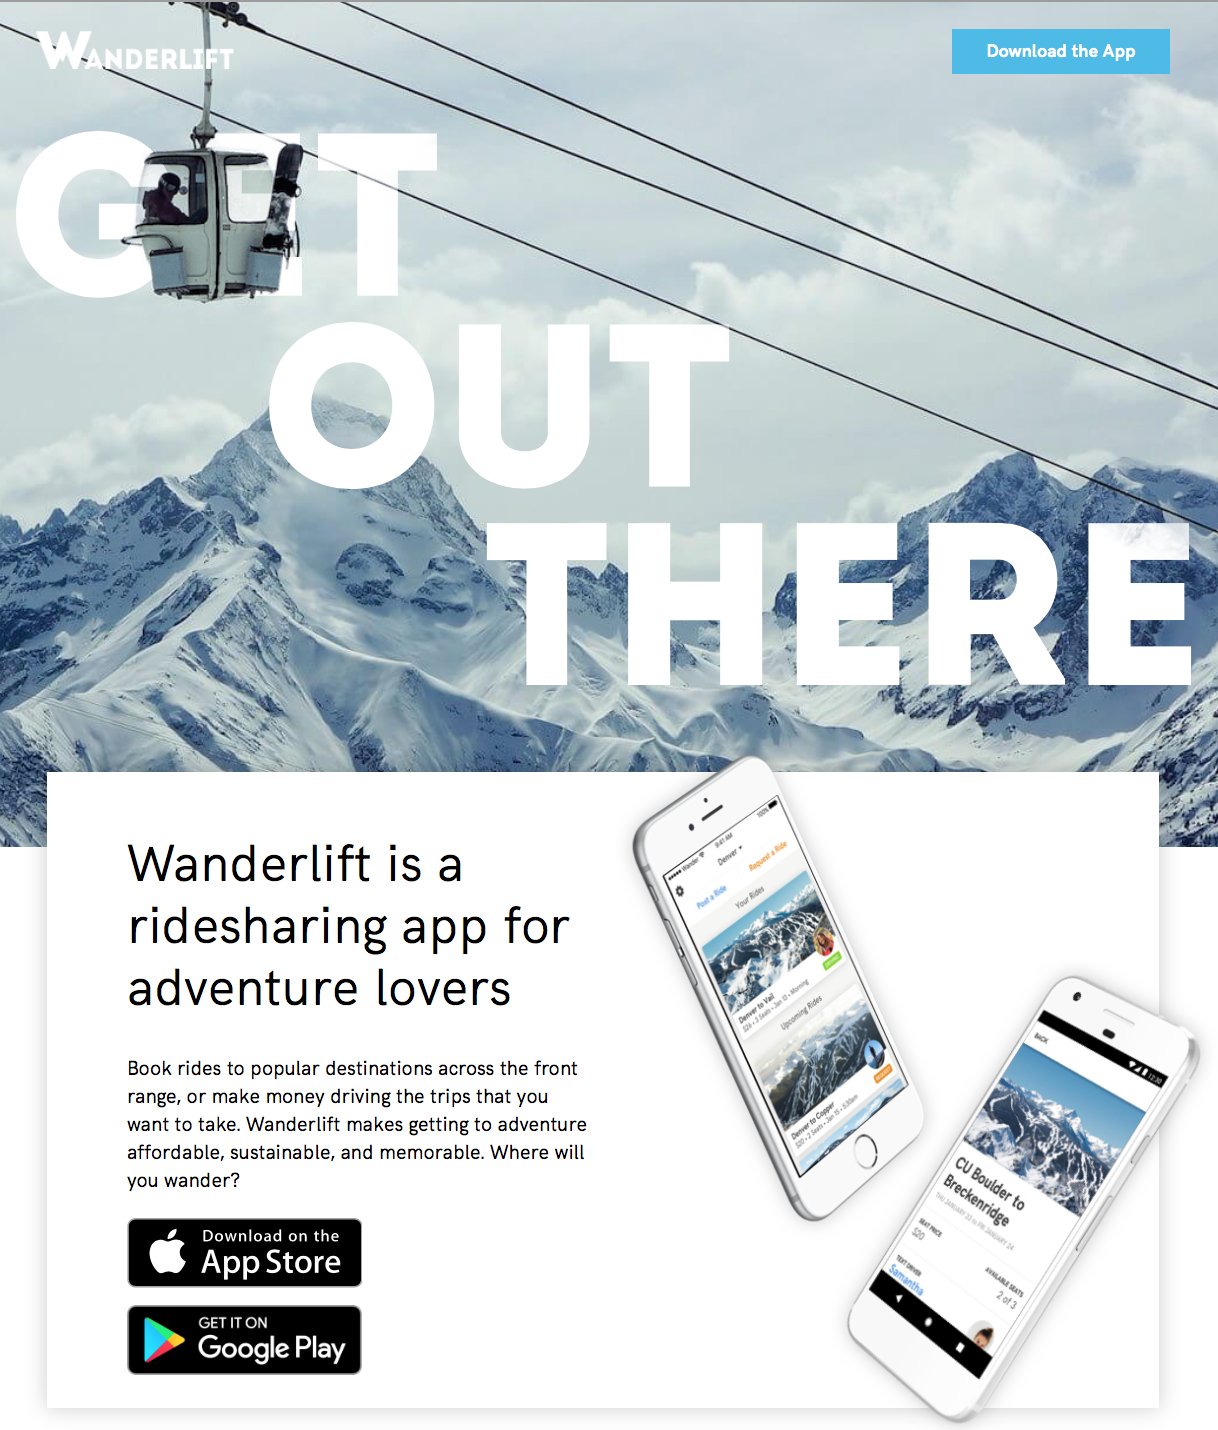
I am a software engineer living in Colorado. Currently, I'm a Tech Lead at HubSpot. Before that, I was at Engine building their cross-platform design system and weaving AI tooling into our frontend CI. In the past, I've also worked for Odeko, Airkit, Thatch Travel, Spire Digital, and Rocket Money. I've also founded a (failed) startup called Wanderlift to help people get out and explore the outdoors. Additionally, I built the initial product for Lynx Global Intelligence to better understand the world around us via data.
My current passion projects focus on building better relationships between friends, as well as thinking about hyper-local products and games. My other passions include the outdoors, transportation, decentralized systems, and privacy. I like to use rapid dev cycles to design, build, test, and deploy unique and delightful experiences.
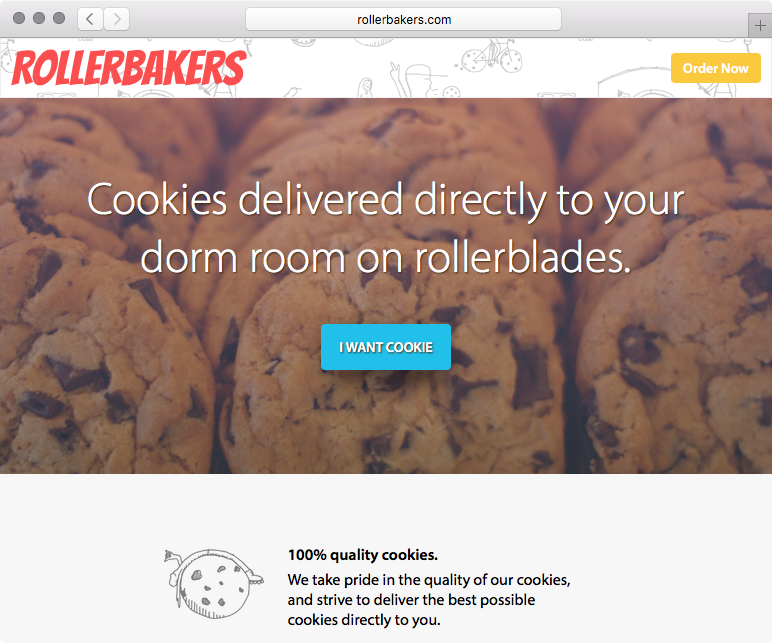
In my free time, I rock climb, backcountry ski, hike, bike, travel, and deliver cookies on rollerblades.
This is my personal site, you can also find me on LinkedIn, Github, and Instagram.
Side Projects
These are things I've built for fun and I'm proud of.
Skills
A generalist with a focus in frontend + mobile.
Web
- React, Next.js, Redux, Jest
- Typescript/Javascript
- HTML5/CSS3
Mobile Apps
- React Native
- Swift/SwiftUI
- Supabase/Firebase
Not Tech
- Lead Climbing
- Backcountry Skiing
- Baking
Backend
- Node.js/Express
- Postgres
- GraphQL
Design
- Figma
- Photoshop
- Affinity
DevOps
- AWS + VPS Management
- Docker
- Git
Want to work together?
I'm currently looking for new fulltime projects in Colorado or remote. If you have a project that you think fits me, get in touch. Feel free to reach out for other reasons as well.
Reach Out